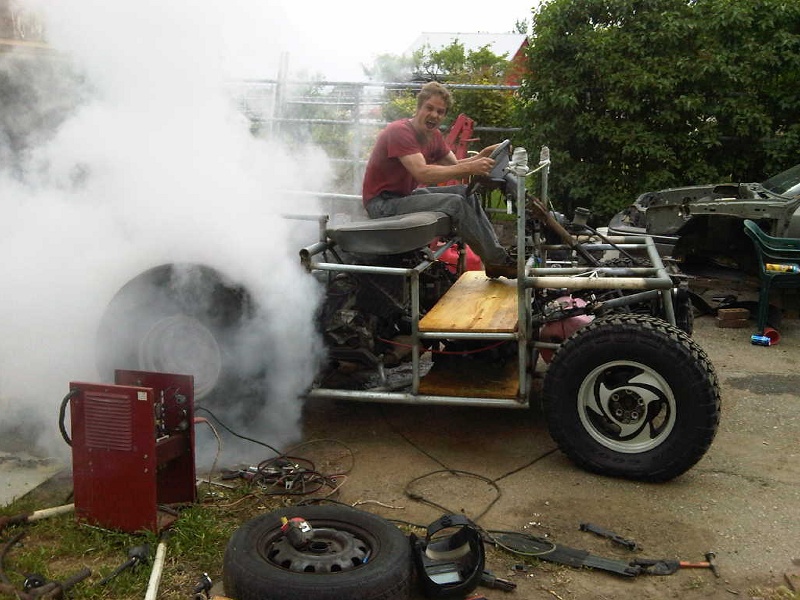
 Nice burnout!
 Robs Stupid Buggy Progress June
Jun 07, 2010 I didnt get much done during the week, and was busy this weekend, but I did manage to get the throttle pedal hooked up to a crazy linkage. Its a long way with alot of curves from the pedal to where it needs to connect to the motor, but at least it works. Still needs to be finalized, but at least it works.
Time for a power check! I still havent welded the differential in the transmission, so it only has half the power that it will end up with, and since it only has front brakes, I figured it would be pretty easy to power brake it and smoke the tires. Too bad it ripped the idle driveshaft from the frame again. Rewelding the driveshaft and adding a second reinforcement on the other side of the driveshaft made it strong enough to make the front tires slide easily when locked up. Letting most of the air out of the front tires did nothing, so I had to chain the buggy to the barn to be able to do a burnout.
I got a little carried away with the burnout, and let it shift into second gear and smoke for a while. The asphalt driveway ended up with a nice scar from all the heat.
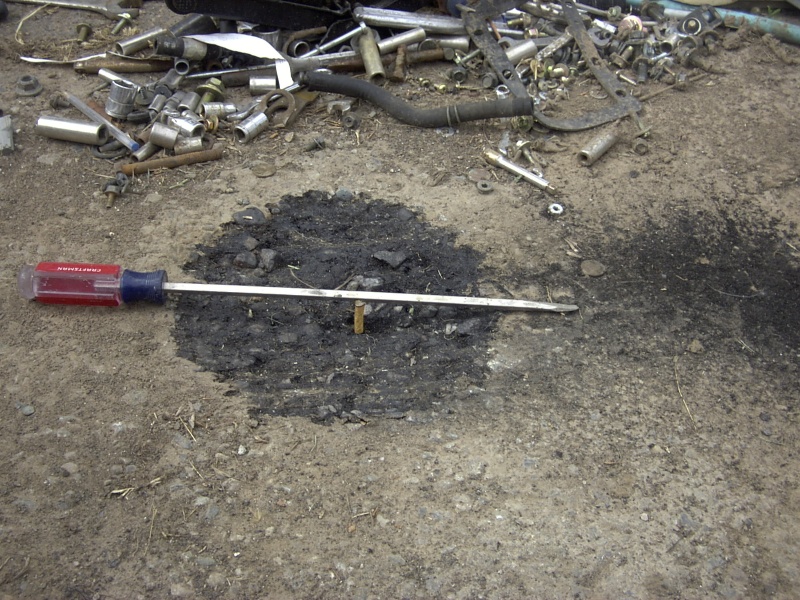 Took a chunk out of the driveway!
It still sits too low, so its time to install taller rear springs.
I managed to remove the old springs without too much trouble, but Im gonna need a real spring compressor to install the taller ones. I may even need to chop a coil or two from the taller ones, but would like to get them installed and check ride height before doing anything non-reversible.
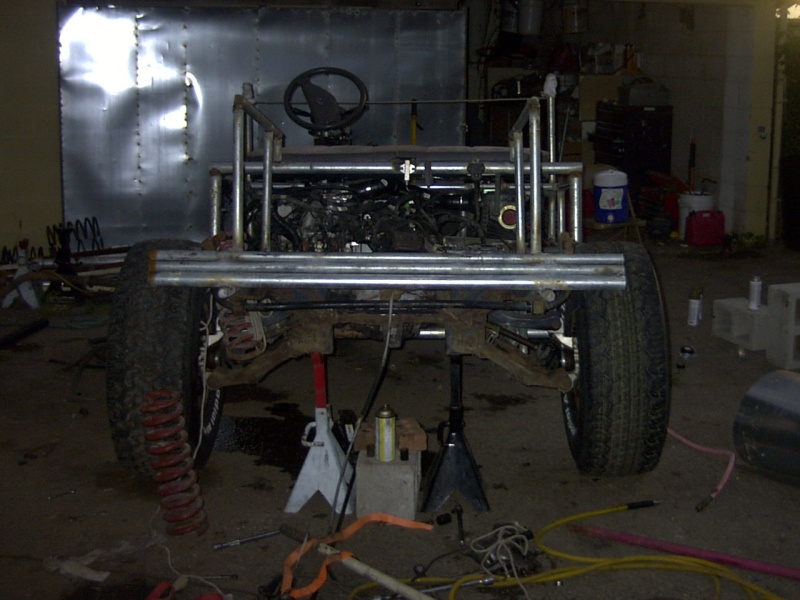 Had to jack it up about 20 inches before tires came off the ground!
Wif got me some 3/8 to 7/16 inch brake line adapters and some extra brake line to connect the rear brakes. The 3/8 brake lines screwed right into the subaru master, and after bleeding the brakes, they worked great and stopped pretty good. After closer inspection, I noticed there was some leakage at the master cylinder. Turns out that the 3/8 inch line is a bit too small. A male 3/8 will screw into a 10mm female, with very slight leakage, but male 10mm line wont fit into a 3/8 female. I need an adapter or something.
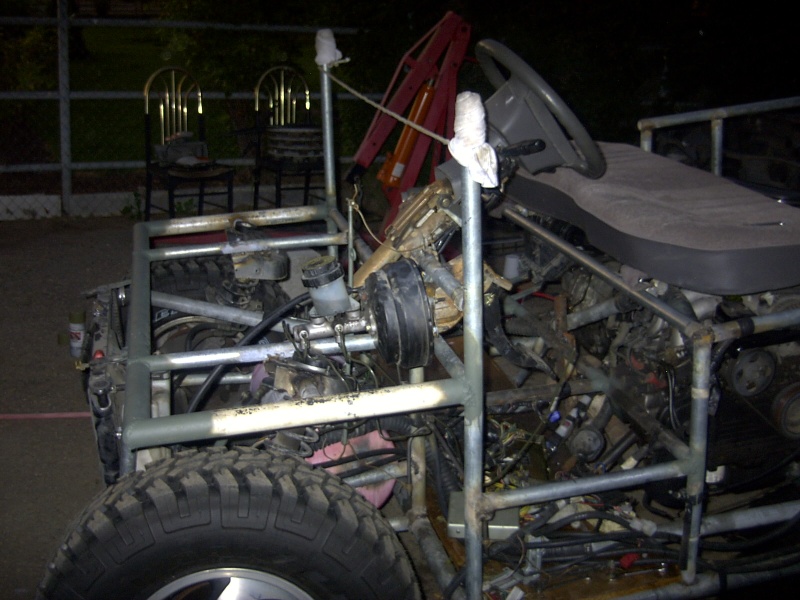 Not sure what this pic is supposed to show
Jun 08, 2010 The wife rocks!! While I was at work, she bought some 10mm to 3/8 inch brake line adapters, spring compressor, and gear oil. Enabled me to quickly hook up the brakes, fill the diff, and start installing springs. The spring compressor wouldnt fit the springs I planned on installing, but I had some front springs from a 91 TBird that are about the same size as the ones that are on the buggy, but really long.
OMG, the TBird springs are REALLY long! After compressing the springs, wrapping them with rope, and compressing the springs again, I still had a really hard time prying them into place. Buggy sits a couple inches too high now, so Im gonna have to cut a bit off the springs to get the right height.
It doesnt look too bad from the front, and I need to raise the front an inch or so, so it may look ok after that. Adding bed sides and more frame and stuff may lower rear end a bit anyway. Will have to wait and see.
Time for another test drive. The brakes work great, and rear suspension still works great. Problem is that with the diff welded, and most of the weight on the rear end, the steering has become really stiff and my turning radius went to crap. The buggy has an incredible amount of traction, but the steering is really bad. Now Im gonna have to get a locker for the rear diff to get it to steer good again.
Now buggy needs front end lifted an inch or 2, and less caster, and maybe lower rear end an inch or 2. Then I need to fix the throttle linkage, add protection of some sort for the puters, some fenders to keep the tires from kicking up mud at riders, and some more frame reinforcement.
Jun 09, 2010 I upgraded the electrical tape part of the throttle linkage to have a steel bracket. There are still 3 pieces of wire connecting the various pieces, but should be strong enough for now. I even got started on installing body panels to protect the wiring and puters, and started the rear fender wells.
The plan for today is to finish the rear fender wells and add enough body panels to protect the puters from rocks and mud.
Jun 11, 2010 Even with all the rain, I managed to get the rear frame rails over the rear tires done and some body panels to protect the puters from stuff the front tires kick up. I wanted to finish the rear shock mounts and a couple other things, but ran out of time because of the rain. Oh well, its close enough for its first outing to the mountains.
Well, I loaded the buggy onto the trailer and hauled it 40 miles with the idea of testing it out. As it would figure with my luck, it rained all weekend and the buggy never made it off the trailer. So much for its first real test.
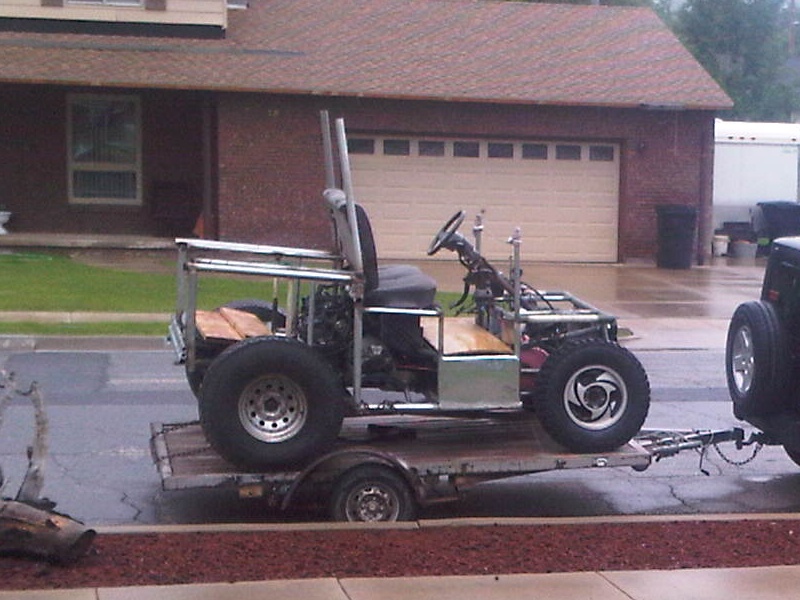 Sat on the trailer all weekend
Jun 13, 2010 It is STILL raining outside, but maybe this is a good time to install the locker. I got a Detroit Trutrack for the rear differential. I think Ill pull the buggy into the garage to remove the diff and work on it inside.
I was a little scared of doing the locker, since Ive never done any differential work besides welding. Sad part is that it was necessary to completely disassemble the rear end to get the driveshafts out of the housing, so it took alot more work to remove the diff than I thought.
Luckily though, it was much easier to swap the ring gear and 'press' on the bearings. I just used a big piece of pipe and a 3lb sledge to pound the bearings on. Wasnt very difficult at all.
While I had the rear end disassembled, I figured it was a good time to cut one coil off the rear springs. They say you arent supposed to use an abrasive tool to cut springs, but after spending several minutes with the sawsall, and barely scratching the surface, I went and choppped them with the big grinder.
Jun 16, 2010 The wood floor seemed like a good idea, but even after 4 coats of polyurethane, it warped quite bad every time it got wet. Standing on it just once when it was warped cracked it really bad. It was time to replace it with something more durable. I found some PVC planks for a good price that seem like they will be a good material for the floor, and it turns out that 3 pieces fit really good. Seems like it may be a good material to use to line the bed also.
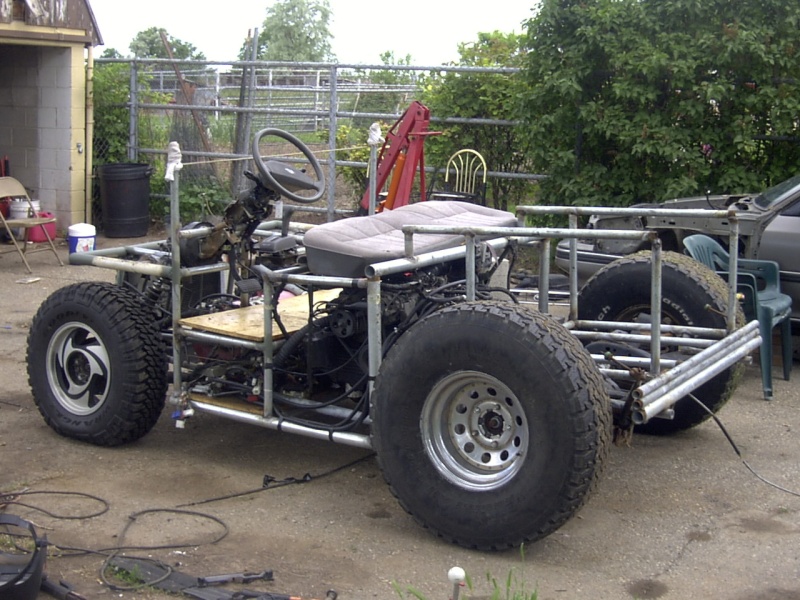
Besides the floor, I managed to finish up the passenger side front fender, and got the rear shocks mounted. Normally shocks dont affect ride height, but since the buggy is so light, it lifted the rear end about an inch. I am quite happy that it rides alot more stable now. Still need to add more reinforcement for the shock mounts, but I like it.
The suspension is nearly perfect and should be even better once I raise the front end an inch or so and move the struts closer to vertical to remove about half of the caster.
Jun 22, 2010 Ive been keeping busy working on the buggy, but progress has been sporadic and slow. The buggy runs great, and handles ok, but to be the utlimate offroad machine, its gonna take alot of fine tuning to make perfect, and It always takes longer to do all the fine details.
The buggy handles ok, but could use more clearance in the front end and my extreme camber/caster alignment settings experiment on the front end could make for a scary ride coming down a steep hill with touchy front brakes. I decided to change the front suspension a bit to make it more stable at speed and/or during slippery conditions.
I also used some angle iron on the sides of the floor to hold the floor pieces from sliding out the sides. I havent tried to glue the individual floor pieces together yet, since I cant find the PVC glue.
 More conventional front suspension and stable floor
 More conventional front suspension and stable floor
 Wife helping me test the new suspension
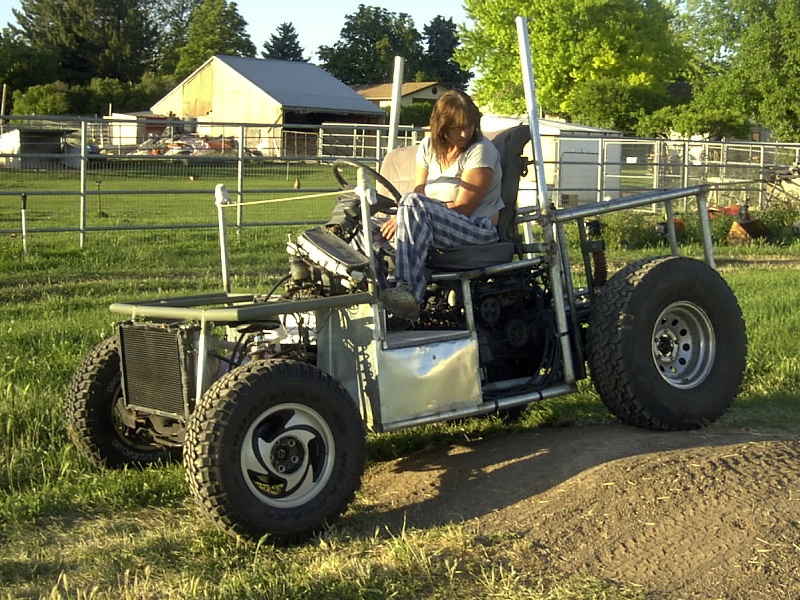 Wife helping me test the new suspension
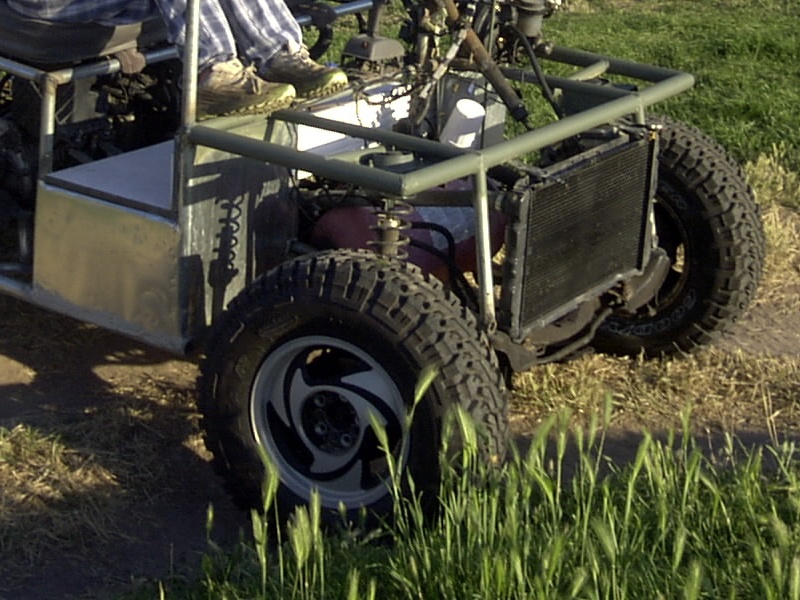
Looks like Im gonna have to come up with a better test for the suspension. The hump in the back yard doesnt even come close to maxxing out the suspension travel. Its only showing 6 or 7 inches out of 20 or so of rear wheel travel, and maybe 3 or 4 out of 10 or so in the front.
Besides the front suspension, I have been fighting with the brakes. I used the master cylinder from the Subaru before I noticed that the Subaru had 4 wheel disc brakes. Since the buggy has drum brakes in the rear, it made for very marginal rear braking because drum brakes need a residual pressure several times higher than disk brakes to keep the brake shoes close to the drum.
Happily, the master cylinder from the 91 tbird bolted right up in place of the Subaru one, and the tbird combination valve had all the same size fittings as the 4 ports on the Subaru master cylinder. Unfortunately, the rear braking performance was not noticeablly better with the new master cylinder, and the front brakes still locked up quite easily, with no noticeable help from the rear brakes.
Even after 'unbleeding' the front brakes to purposely introduce air into the lines to try and let the rear brakes do more of the work, it still took quite a bit of pedal pressure to stop the rear tires from turning at idle with the rear end supported off the ground on jackstands.
I removed the rear wheels to get a better look at the drum brakes, and they werent rusted at all, and besides being quite loose on the adjustment, they seemed to be working properly. I adjusted them as tight as I could get them while still being able to slide the drums back on.
The brakes were marginally better after the adjustment, so I tried backing up and hitting the regular brakes and emergency brakes repeatedly to try and get them adjusted better. Not sure if its better or not yet.
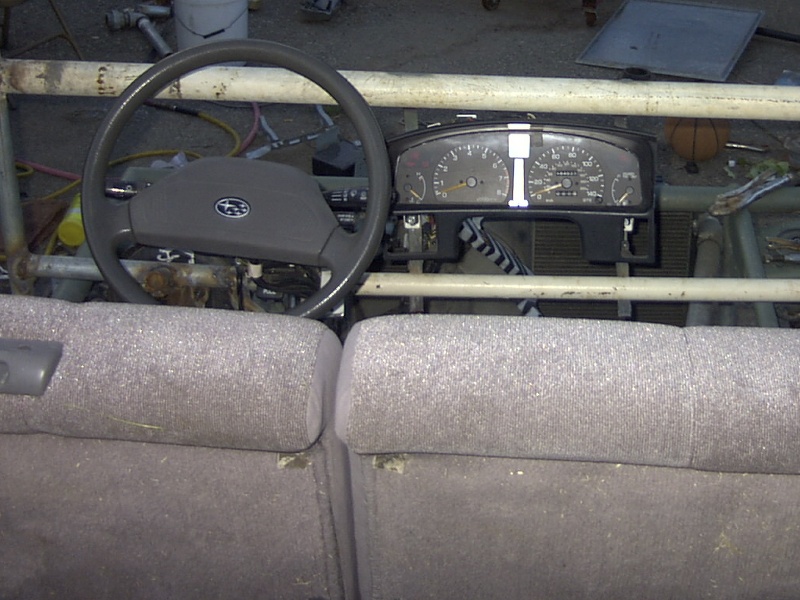
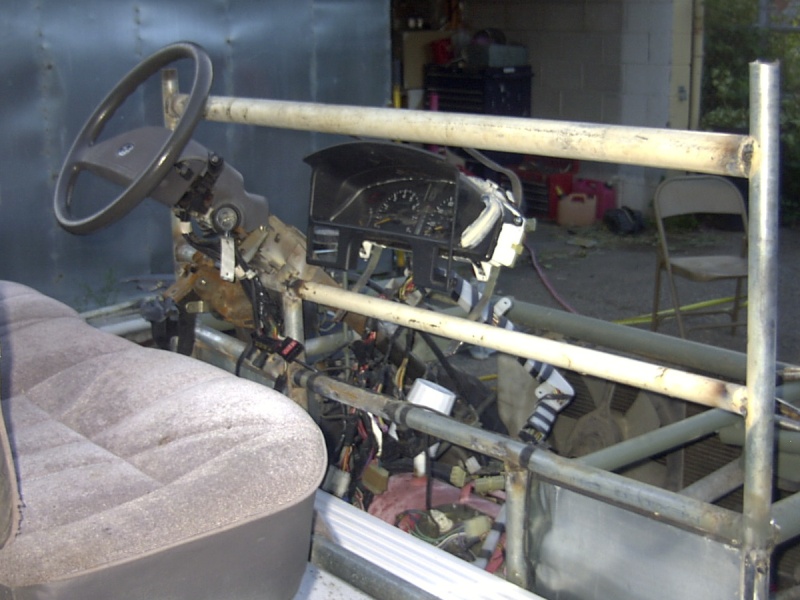
While trying to get over being frustrated about the brakes, I hooked up the instrument cluster, which involved lengthening several wires to get the cluster to be able to reach where I wanted to install it. What a pain in the butt. You can kinda see the instrument cluster in the following 2 pictures, but it obviously hasnt been mounted yet.
I also figured it was time to add a muffler. Being the cheapo that I am, I used an old muffler and some pieces of old muffler pipe that I had laying around. It dont look pretty, but it is much quieter at idle and has a fairly nice sound.
 Closer look at the seat back support and folding action
The instrument cluster didnt fit very well where I had it, and the wiring was too close to the throttle linkage. I decided to put the instrument cluster in the middle of the dash instead of the conventional place over the steering wheel. This will take room away from the radio and cupholders, but the would probably be better of the radio was on the left side anyway.
 Gauges in the middle of the dash
 Gauges in the middle of the dash
Jun 26, 2010 I didnt get work on the buggy too much over the weekend, but I did manage to get seatbelts and the roof done
Jun 29, 2010 The hood frame outline has to match the headlights, so I propped up the headlights while I made the front frame. Just for funny, I propped up the grill between the headlights, and it mostly fits! I may actually use the grill.
Jun 30, 2010 Got the headlights mounted and wired, and even hooked up the radiator fan wiring last night. Had to stretch a dozen or so more wires to use the stock headlight switch, but the high/low beam switch and the dash light dimmer works now. No pictures, cause it looks the same as yesterdays pics except for the grill.
I was so happy to get stuff done that I mostly forgot about the brakes, and went and played a bit while the wife took video
 Stupid video of going over the jump (2.1MB)
 Stupid Video Going Kinda Fast (2.5MB)
See the 100hp lawnmower I built
See the other carts I have built
 Not much ground clearance
 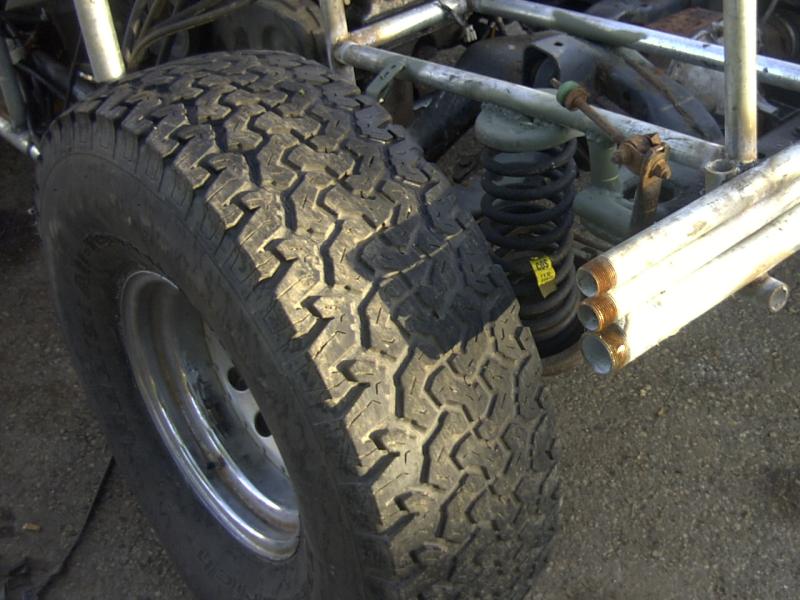 New springs are way long
 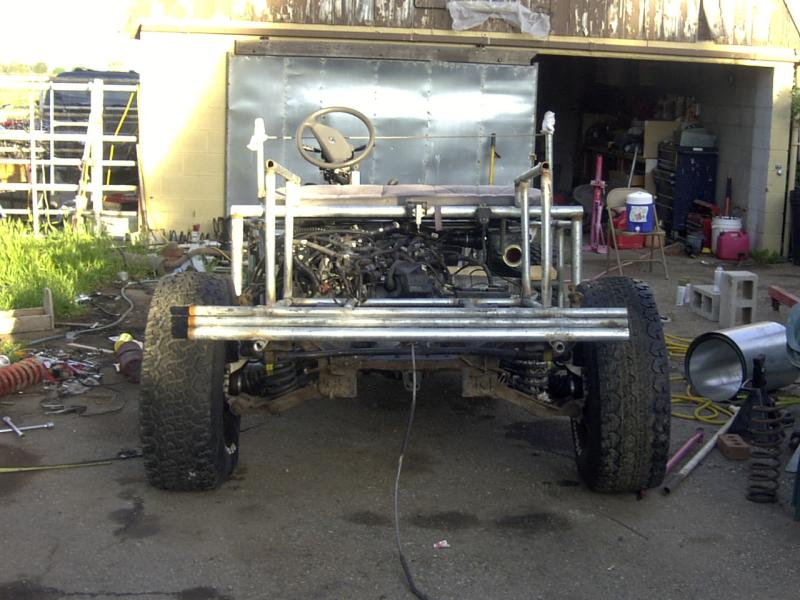 New springs are way long
 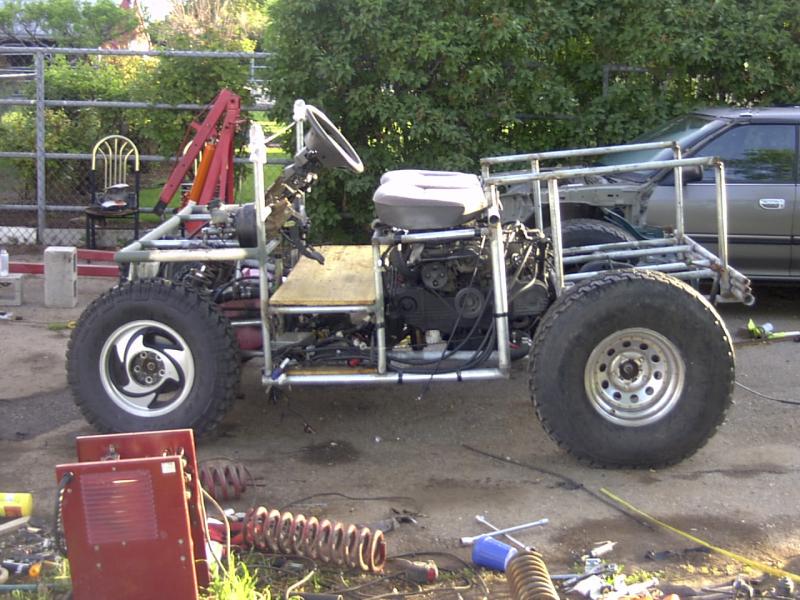 Makes buggy too high in rear
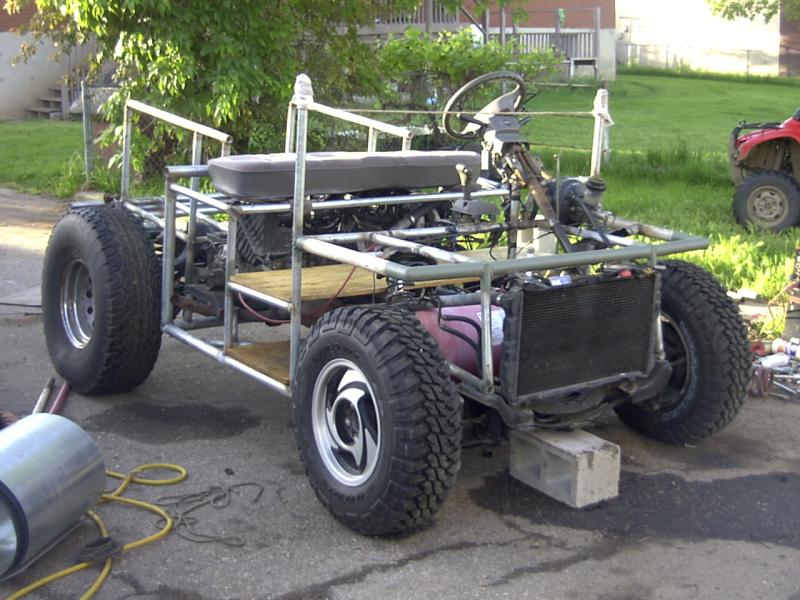 Looks ok from front
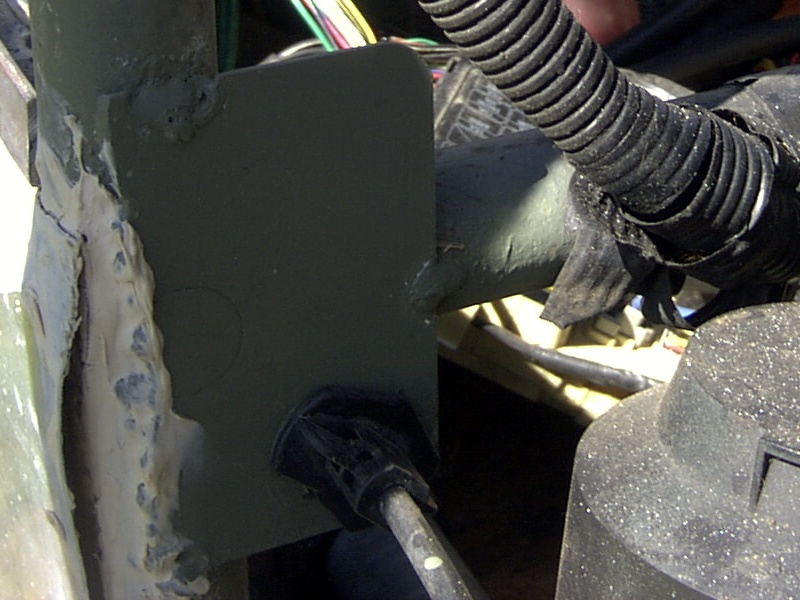 Silly throttle cable bracket
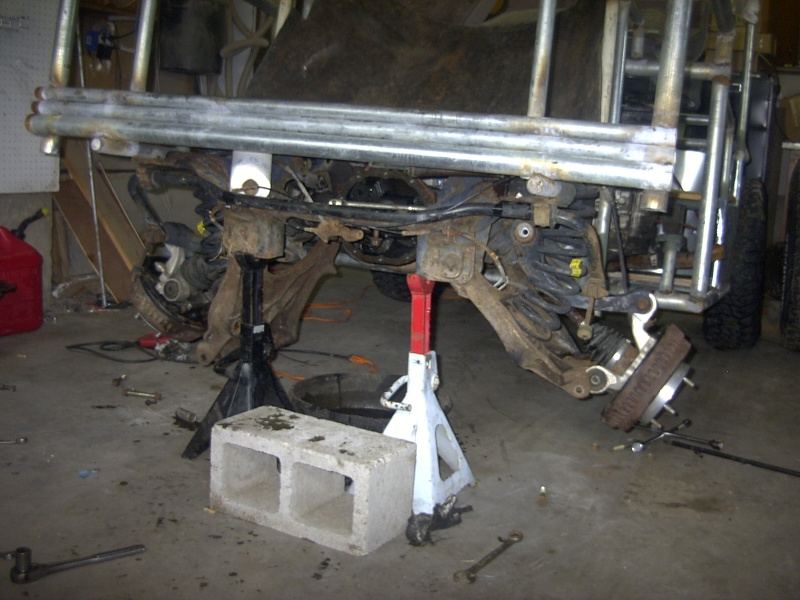 Rear end all disassembled
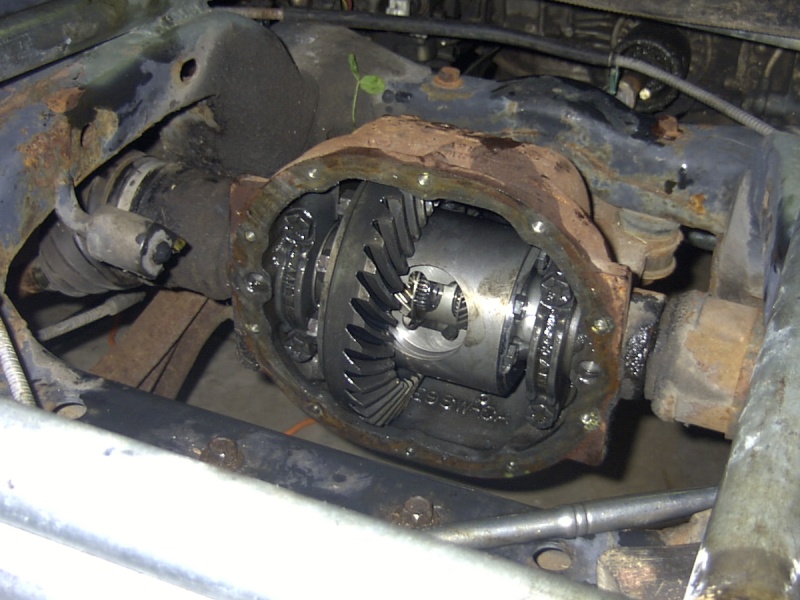 Looks so cute in there
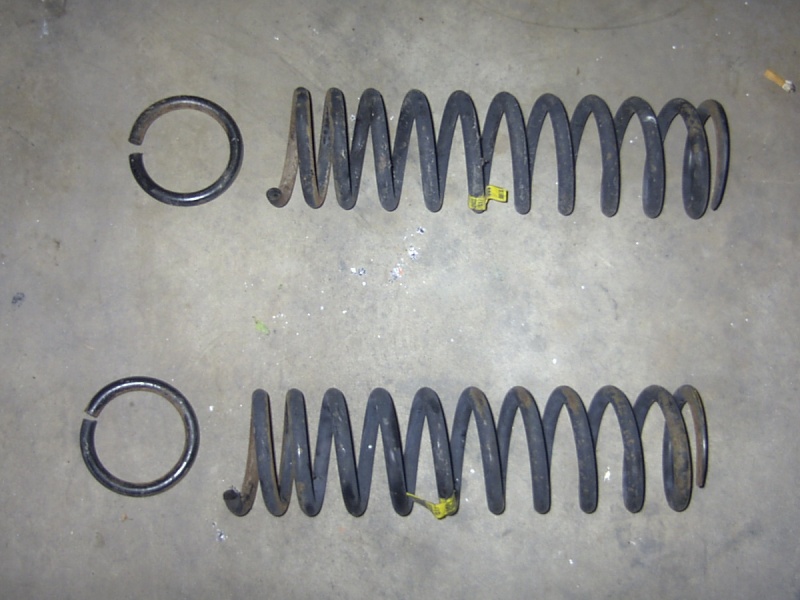 Springs one coil shorter now
 Sits much better now
 Smurfy new floor
 Finally has rear shocks
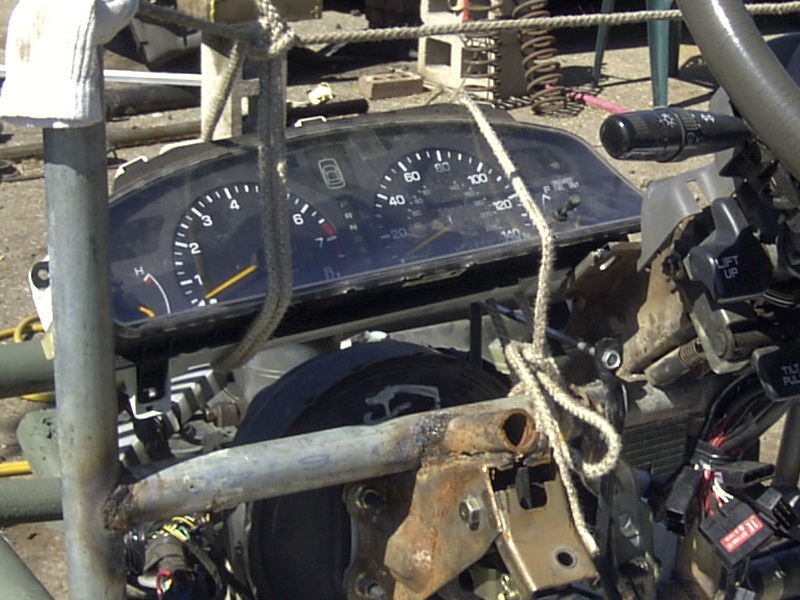 Instrument cluster hooked up
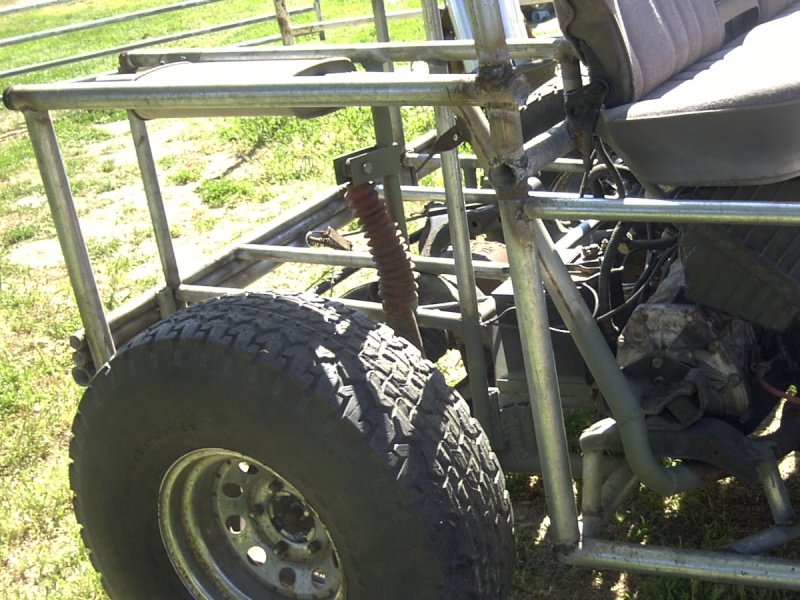 I got a muffler!!
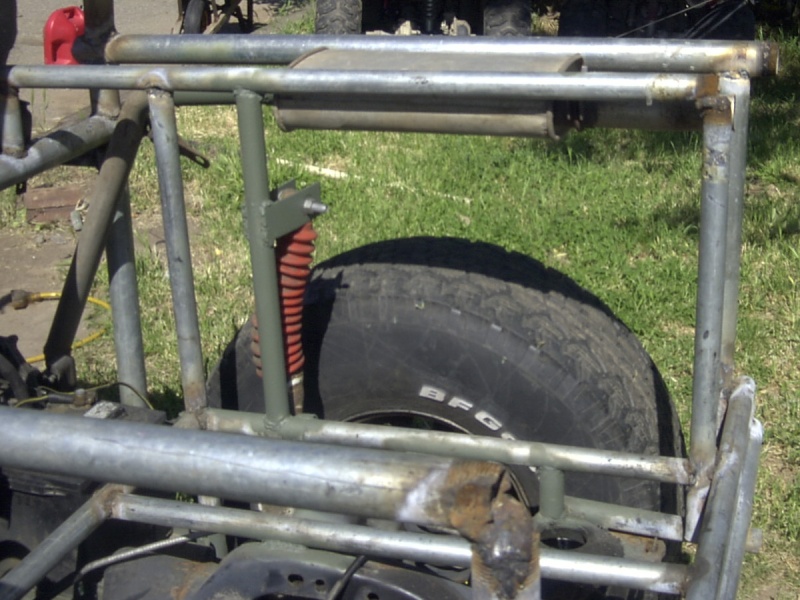 Muffler tucked out of the way
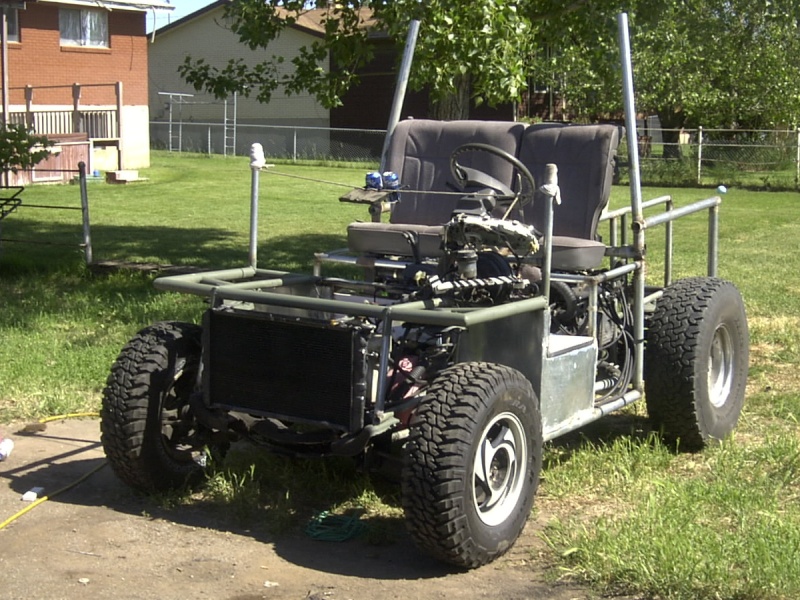 And cupholders!!!
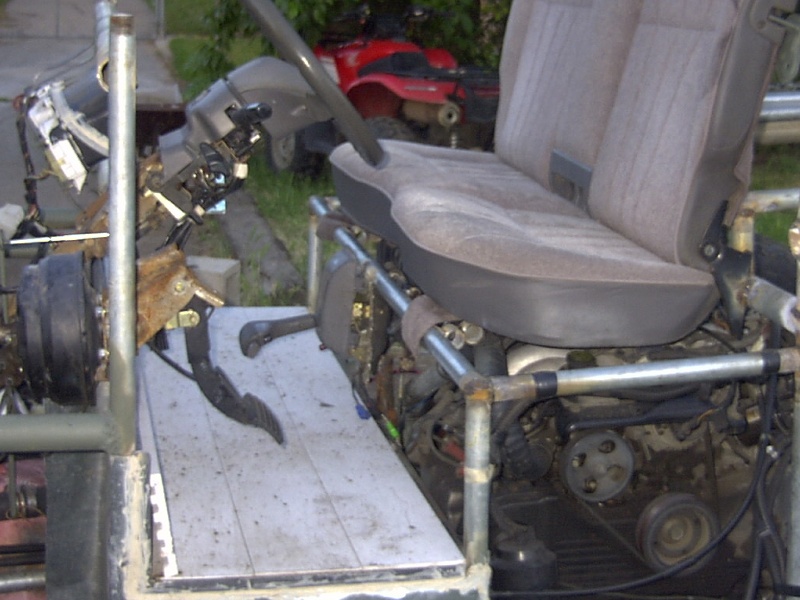 Shifter moved to better place
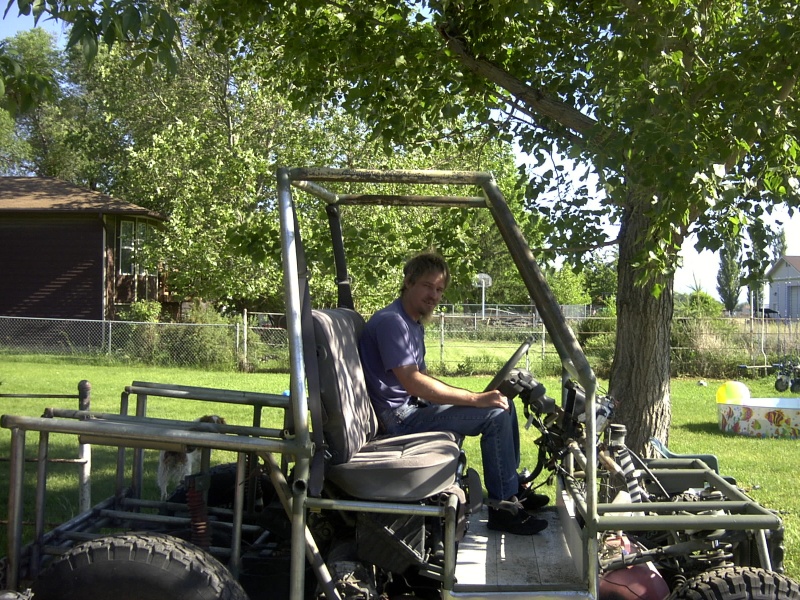 Buggy has a roof
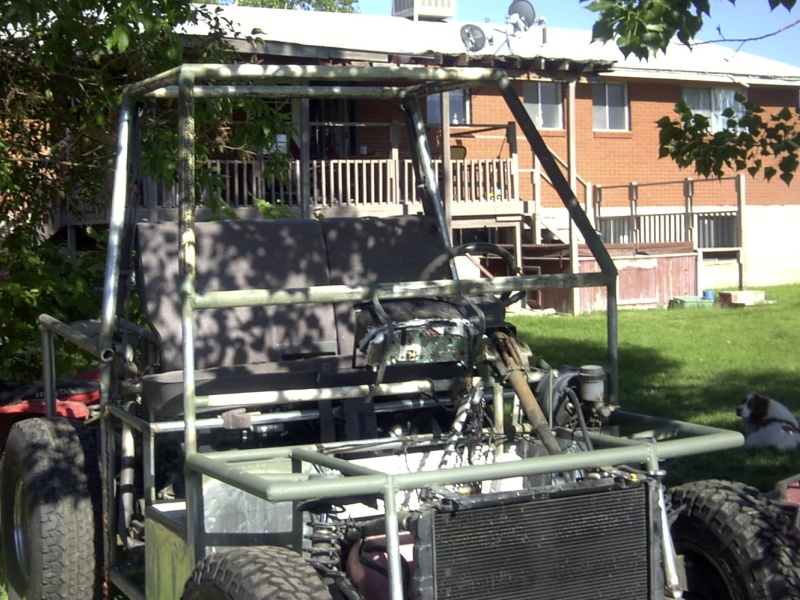 Buggy has a roof
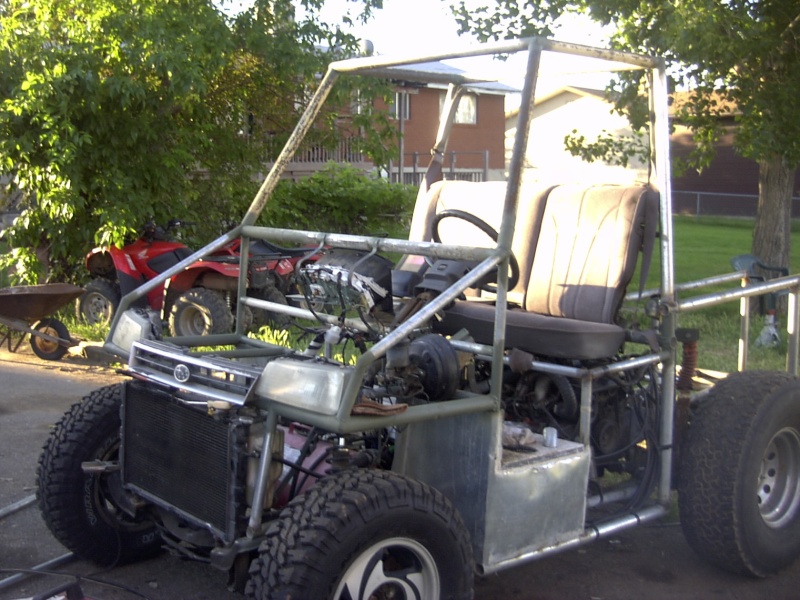 Hood frame and Headlights
 Hood frame and Headlights
Leave a Comment