68 Cougar Grill Detailing Page
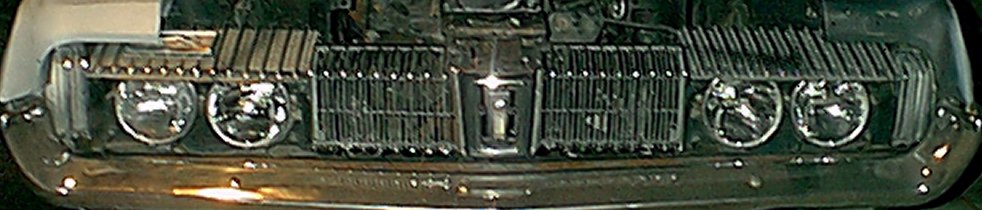
I got tired of looking at my tired grill and decided it was time to detail it.
The more body work I got done, the worse it made the grill look by comparison. The parts that look white on the headlights covers are supposed to be black, only they look white, I tried to clean them with a toothbrush and soap, but the paint was just too oxidized. The only way to make it right would be to repaint at least the black parts.
I figure I could try to paint the black parts with a small brush, but this would have taken a long time and would not produce clean results. So I decided to separate the chrome pieces from the rest of the grill and paint them separately. The grill halves must be removed from the car before you can separate the chrome pieces from the black backing. Each grill half is mounted with 3 bolts, 2 nuts and a screw. Each half also has 2 headlight cover springs and 2 headlight electrical connectors. Im not sure if it is possible to remove the grill halves with the center piece still connected, but I removed mine earlier, so I dont know.
After removing the grill halves, I separated the headlight covers from the rest of the grill. Then I used a Dremel to cut the ends of the stakes that hold the chrome piece to the headlight cover.
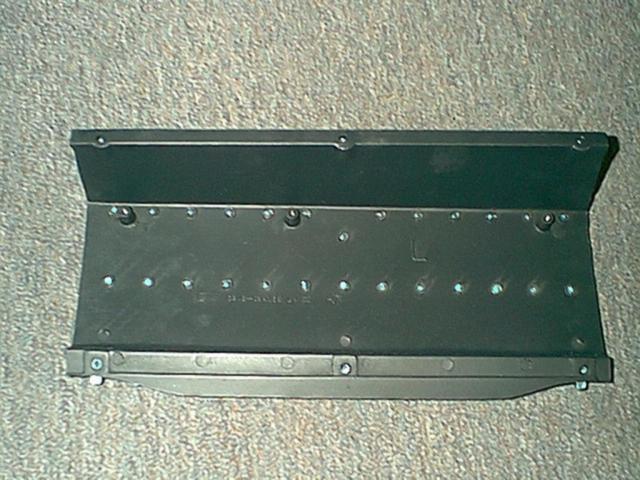
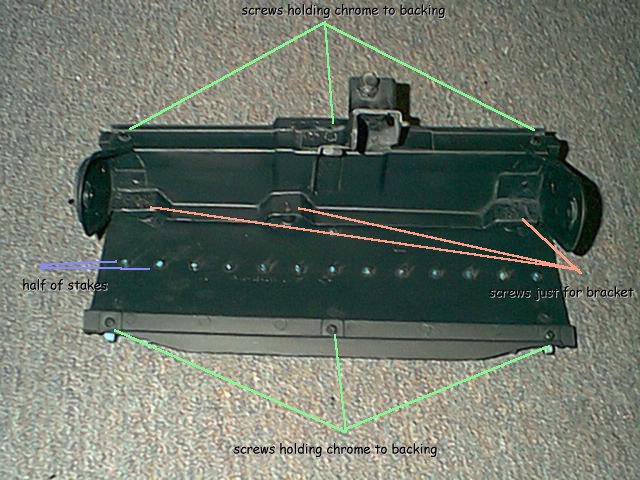
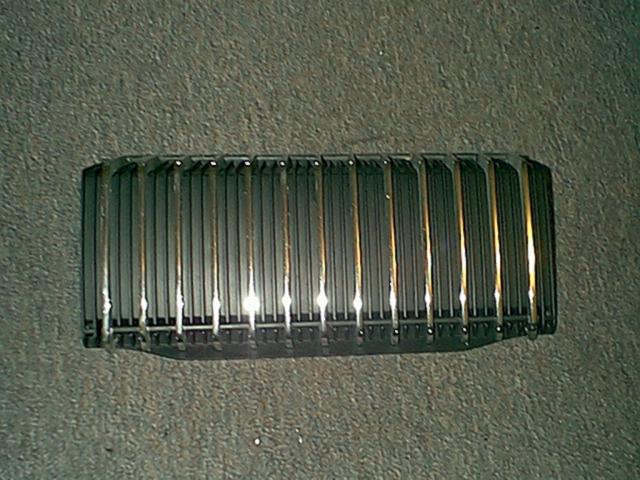
Here is the back of the drivers side headlight cover with the chrome ready to be separated. This picture was actually after the chrome was separated and the cover was painted flat black. You can see the 14 stakes cut already and the 9 screws removed. The top and bottom rows of 3 screws help hold the chrome piece to the cover. The middle row of screws is just for holding on the bracket that the cover pivots on.
Some careful prying separates the chrome from the cover.
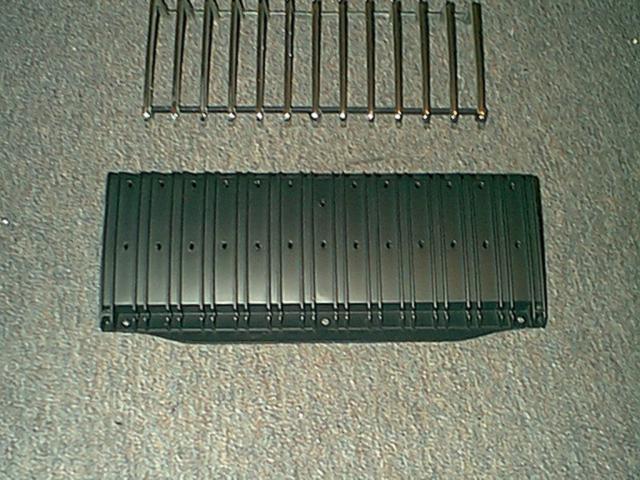
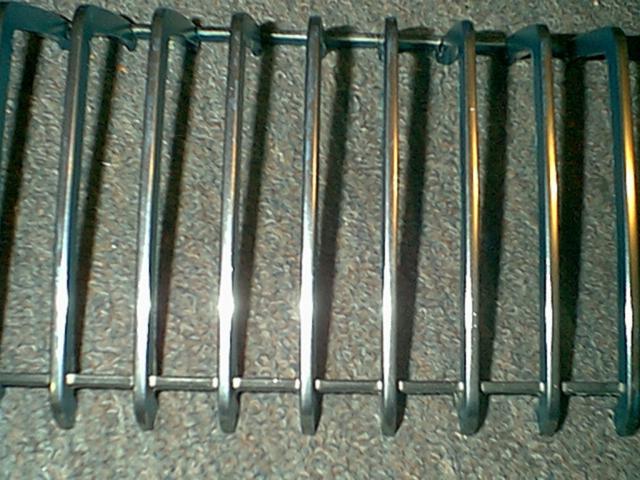
I didnt like the Argent Silver paint that was on the sides of the chrome, so I tried using rubbing compound to remove the paint and get down to the chrome. This was a very time consuming task and I didnt like the results. With the chrome pieces completely devoid of the stock paint, the chrome reflects the black of the grill and gives nearly the effect of a blackout grill when viewed at an angle.Here is a pic showing the headlight cover chrome part devoid of paint. It just looks black. The center and end chrome pieces still have the Silver paint. Ick.
I didnt particularly like this, and I didnt like the silver, so I decided to paint the sides the same color as the body. If you decide to paint the sides Silver or body color, and you spray from the back you will not need to mask the front of the chrome at all. You might get some dusting that will rub right out with very little effort. Here is a pic after spraying that shows a little dusting
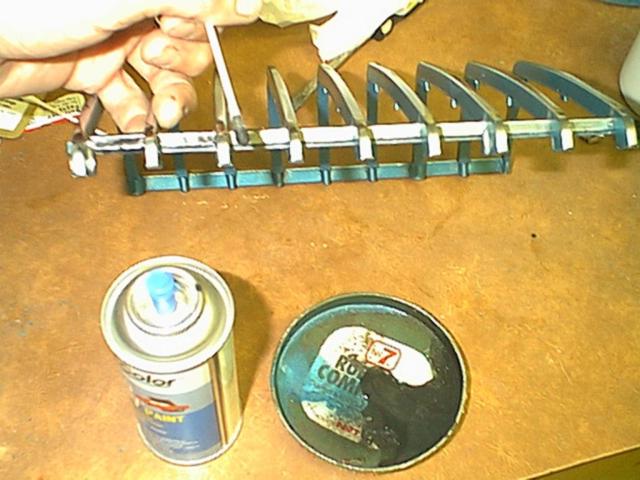
Then it was time to freshen the faded black paint on the top and bottom. The top part was easy with little masking. The bottom part required painting with a qtip. I sprayed some of the flat black into a lid and it worked great as opposed to buying liquid paint too. It could be very difficult to mask the newly painted parts from getting black paint on them, but by squeezing the qtip at a distance, the paint will travel right up to the edge and required no masking.
Screw the chrome and bracket back to the cover and all there is to it. You may want to put some JBWeld, Epoxy, Silicone, or other adhesive to the stakes before reassemblimg to prevent rattles later on, but I opted not to. If your chrome pieces start rattling or fall off 6 months from now, dont say I didnt warn you
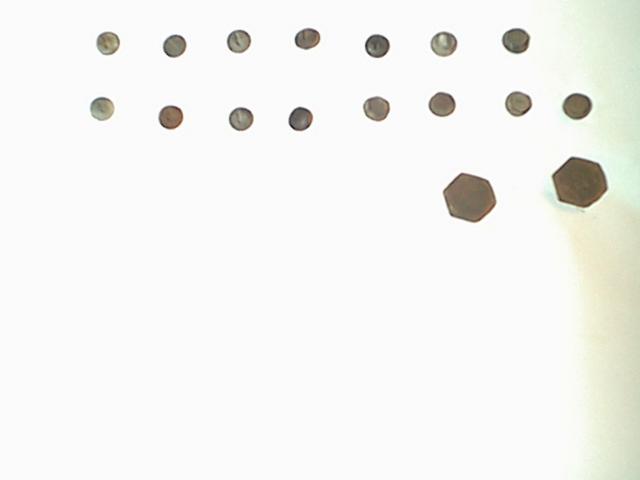
After screwing the chrome back to the backing pieces, The screw heads looked real bad. Call me crazy. I had to paint the screw heads. Poking the screws through a piece of paper made painting the heads quick and painless.
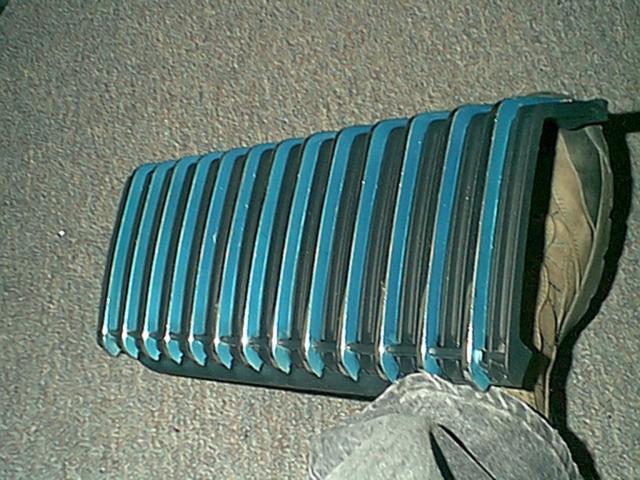
The headlight cover is Done.
Same piece viewed from the side. (shoe not included)
Do the same with the center and end pieces of the chrome on each side for a total of 6 pieces, then reassemble.
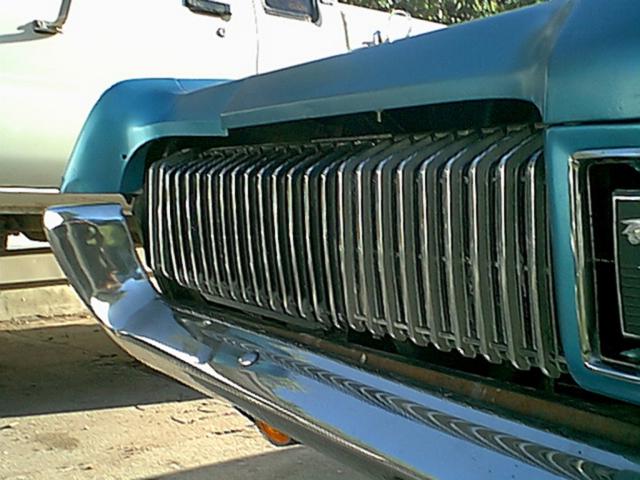
All reassembled. I still need to do the passenger side center section. Dont ask me why it got reassembled without getting done, I dont have room to explain it here.

Leave a Comment